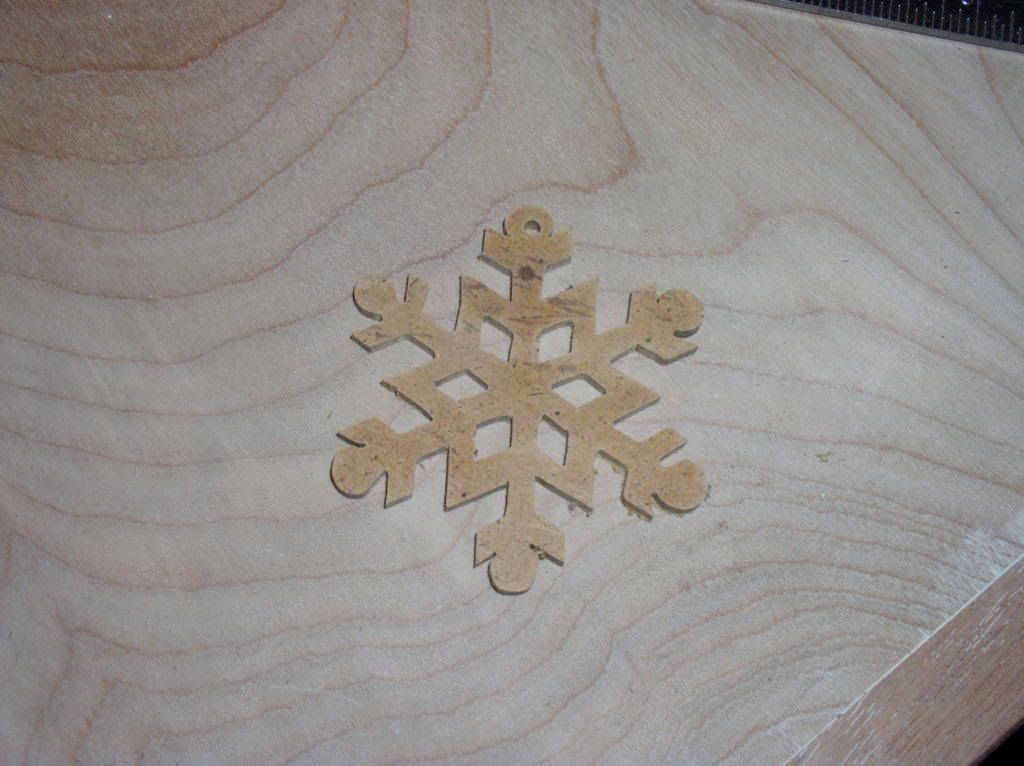
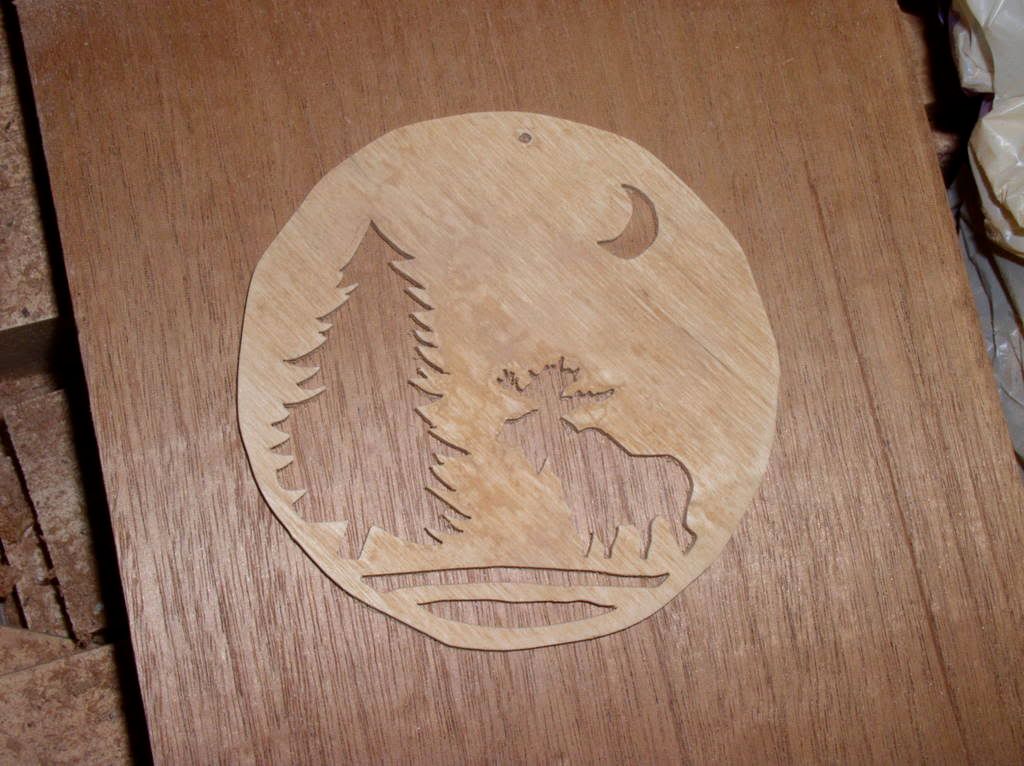
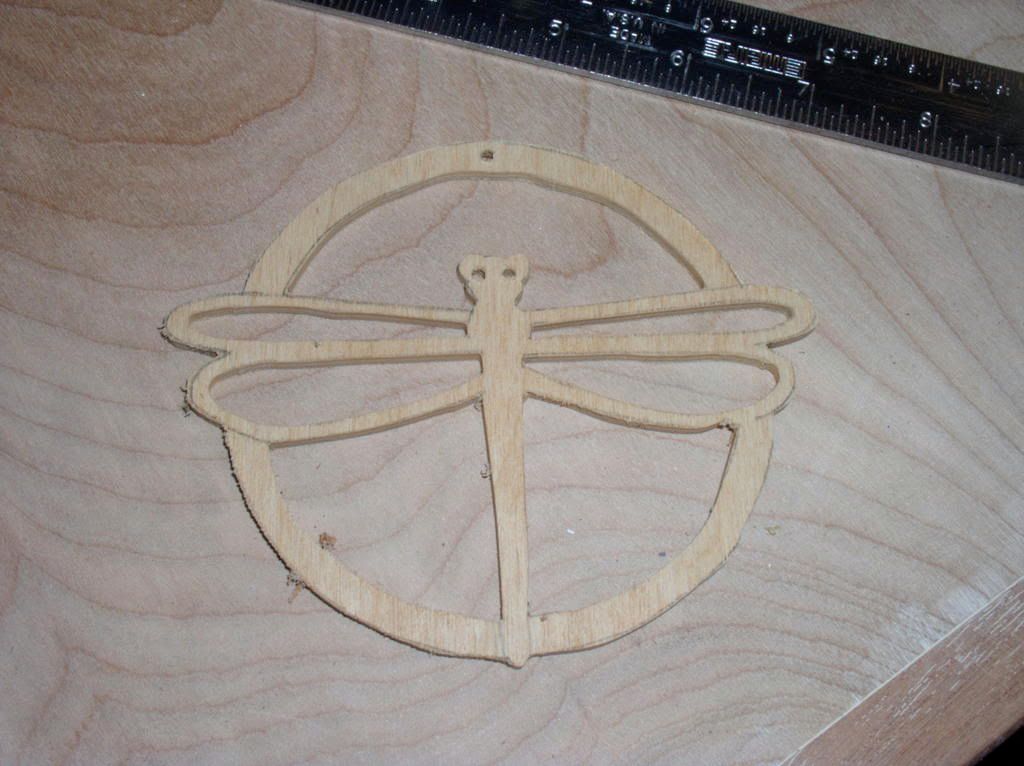
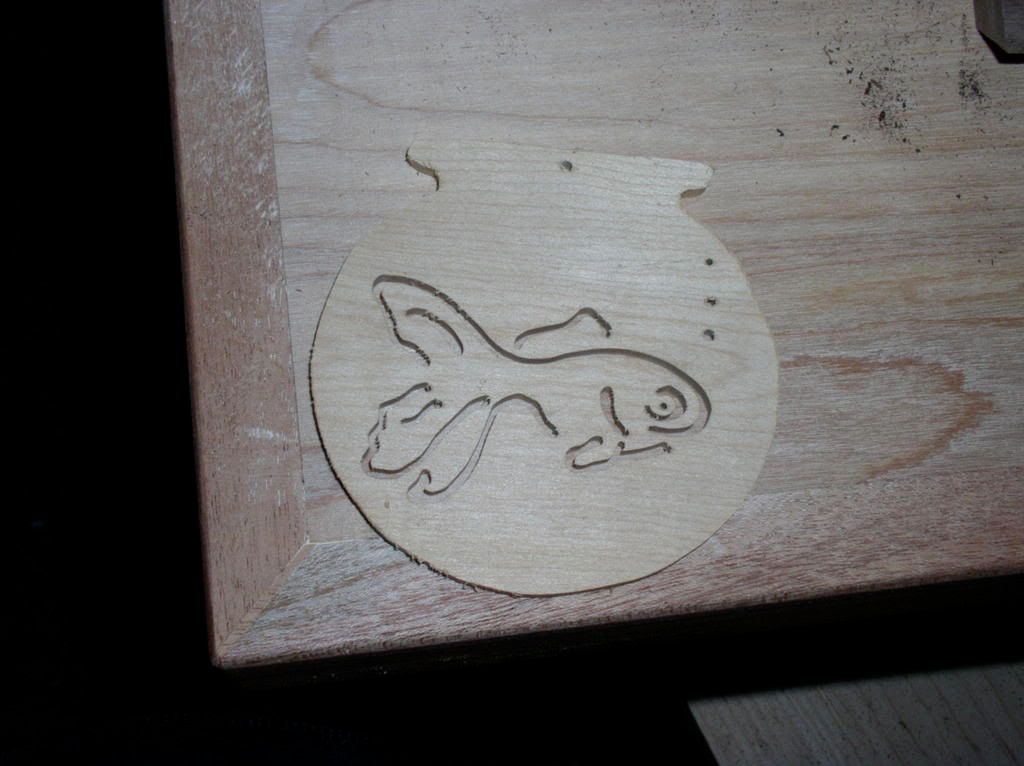
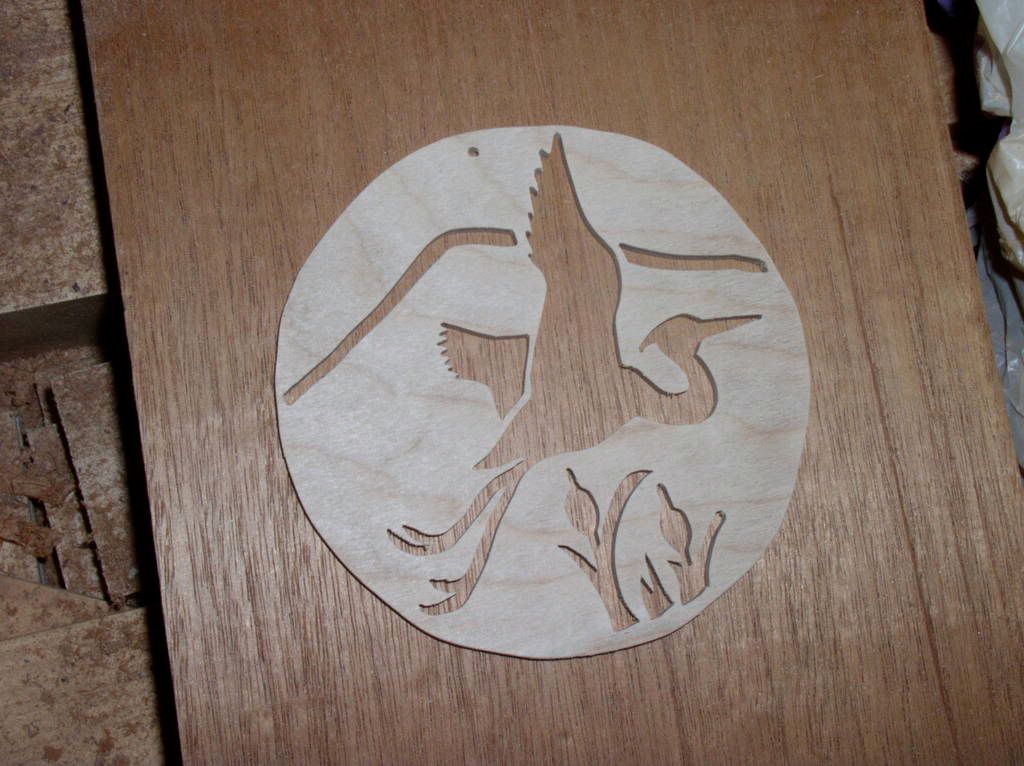
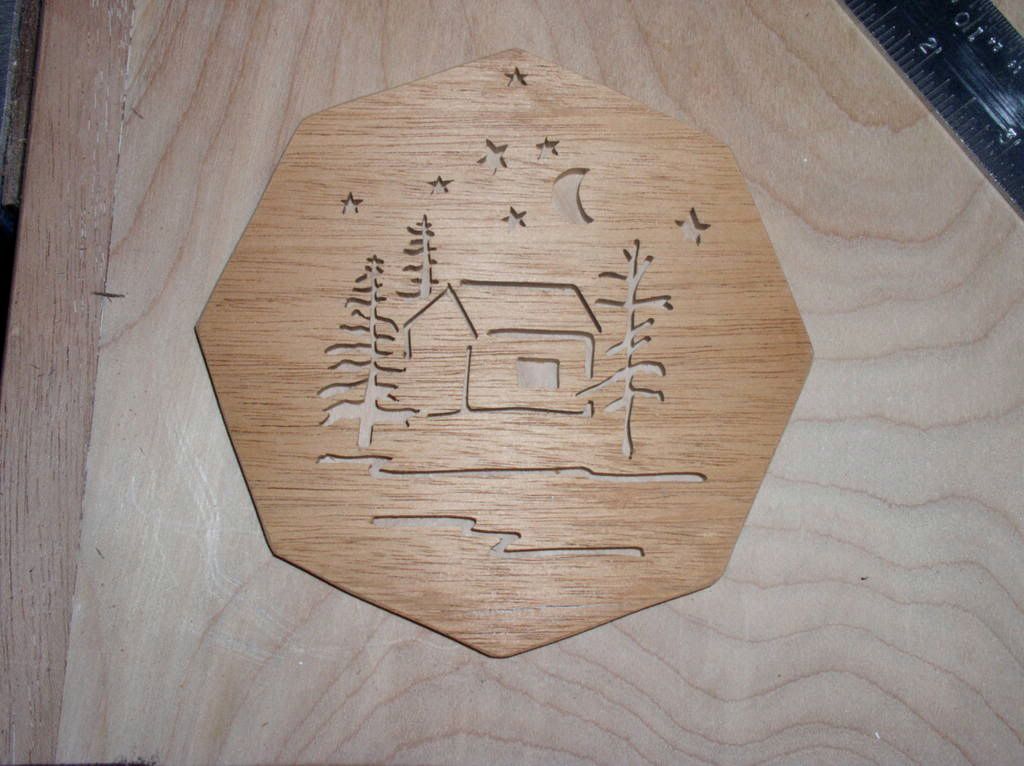
The first ornament I made was a snowflake. One other year was a creche (manger scene), which I don't have a picture of. Others have been a moose, a dragonfly, a fish, a heron, a cabin, an owl, and a heart. The heart was made the year of our wedding (2004) and echoes the hearts that were on our invitations and cake.
Each of the designs are original. In most cases pieces of the design have come from other sources - pictures in catalogs, a set of sheets (the moose), image searches on Google and scroll saw pattern books. I have never used an entire design from another source. In the case of the Google searches I have only used photos as inspiration.
Which brings us to this year, which needs to start with an explanation. We have spent 2 weeks during each of the last 8 summers at Wakanda on Rainbow Lake in the Adirondacks of New York. Wakanda is a complex of 5 buildings owned by friends of ours - the owner's house (Moose), a cabin which they manage the rental of (Birch), and 3 rental cabins (Heron, Owl and Loon). You'll notice that I've made ornaments to match the cabin names except for Loon and Birch. A copy of each of those ornaments now lives in the cabin it matches. Birch is unlikely to be added to the list since it is owned by someone else, not our friends. Which leaves Loon.
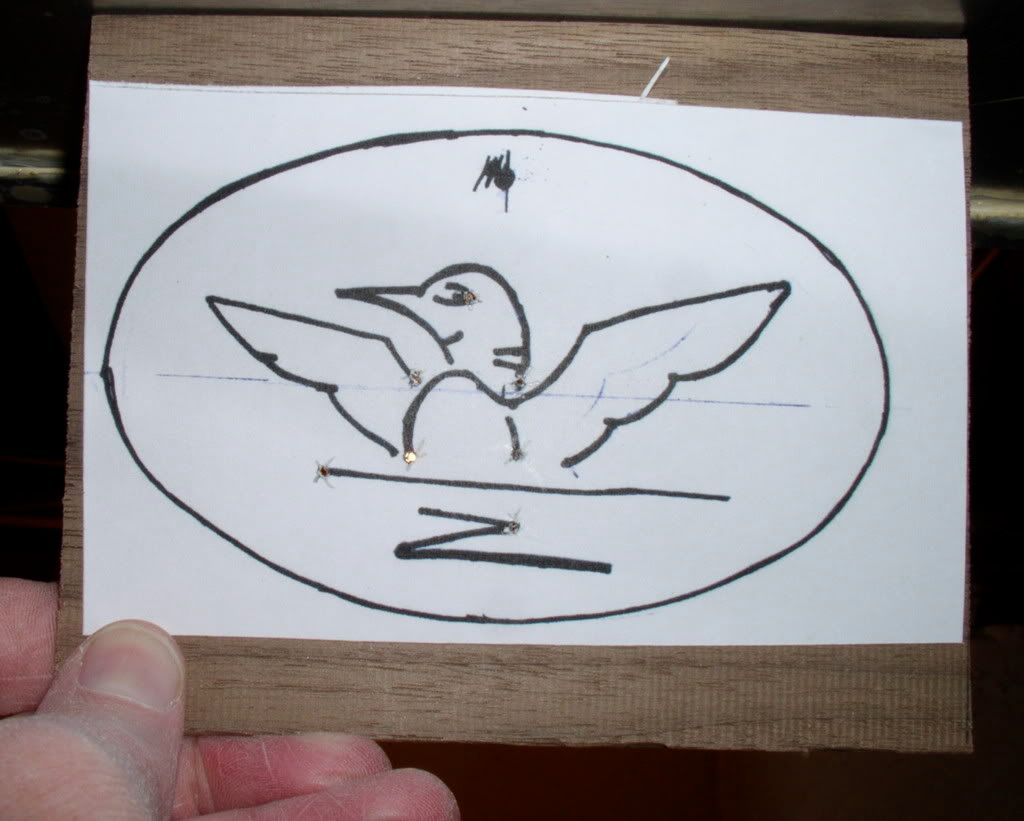
In working out a design I didn't want to do the ubiquitous loon floating placidly. This image is so prevalent that it is almost kitsch. I found an image of a loon stretching it's wings. That is the basis for this year's design. First step was to trace the inspiration. Then there were a series of modifications and refinements. Each modification was designed to make the design as simple and clear as possible, and also to make it work when cut out.
Here's the design I have ended up with:
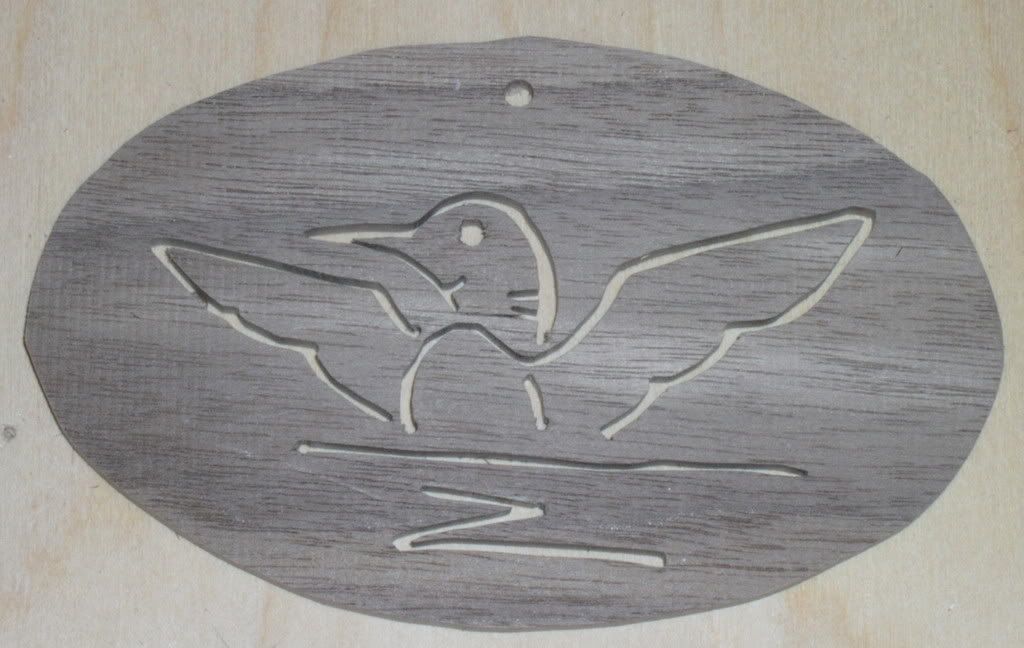
With the design read the next step was to cut a prototype and make sure the design was going to be relatively easy to cut.
Next step is stack cutting. In stack cutting a number of pieces of wood are attached together, for these I use double-sided clear tape, and cut as one. I'll do 3 or 4 at a time. Each stack should take about 30 minutes to cut.
I'll post more when I start the cutting.
1 comment:
Wow! Nice work. Wood working has always fascinated me, I just have no skill with it.
Post a Comment